How it Works
Working with a checklist
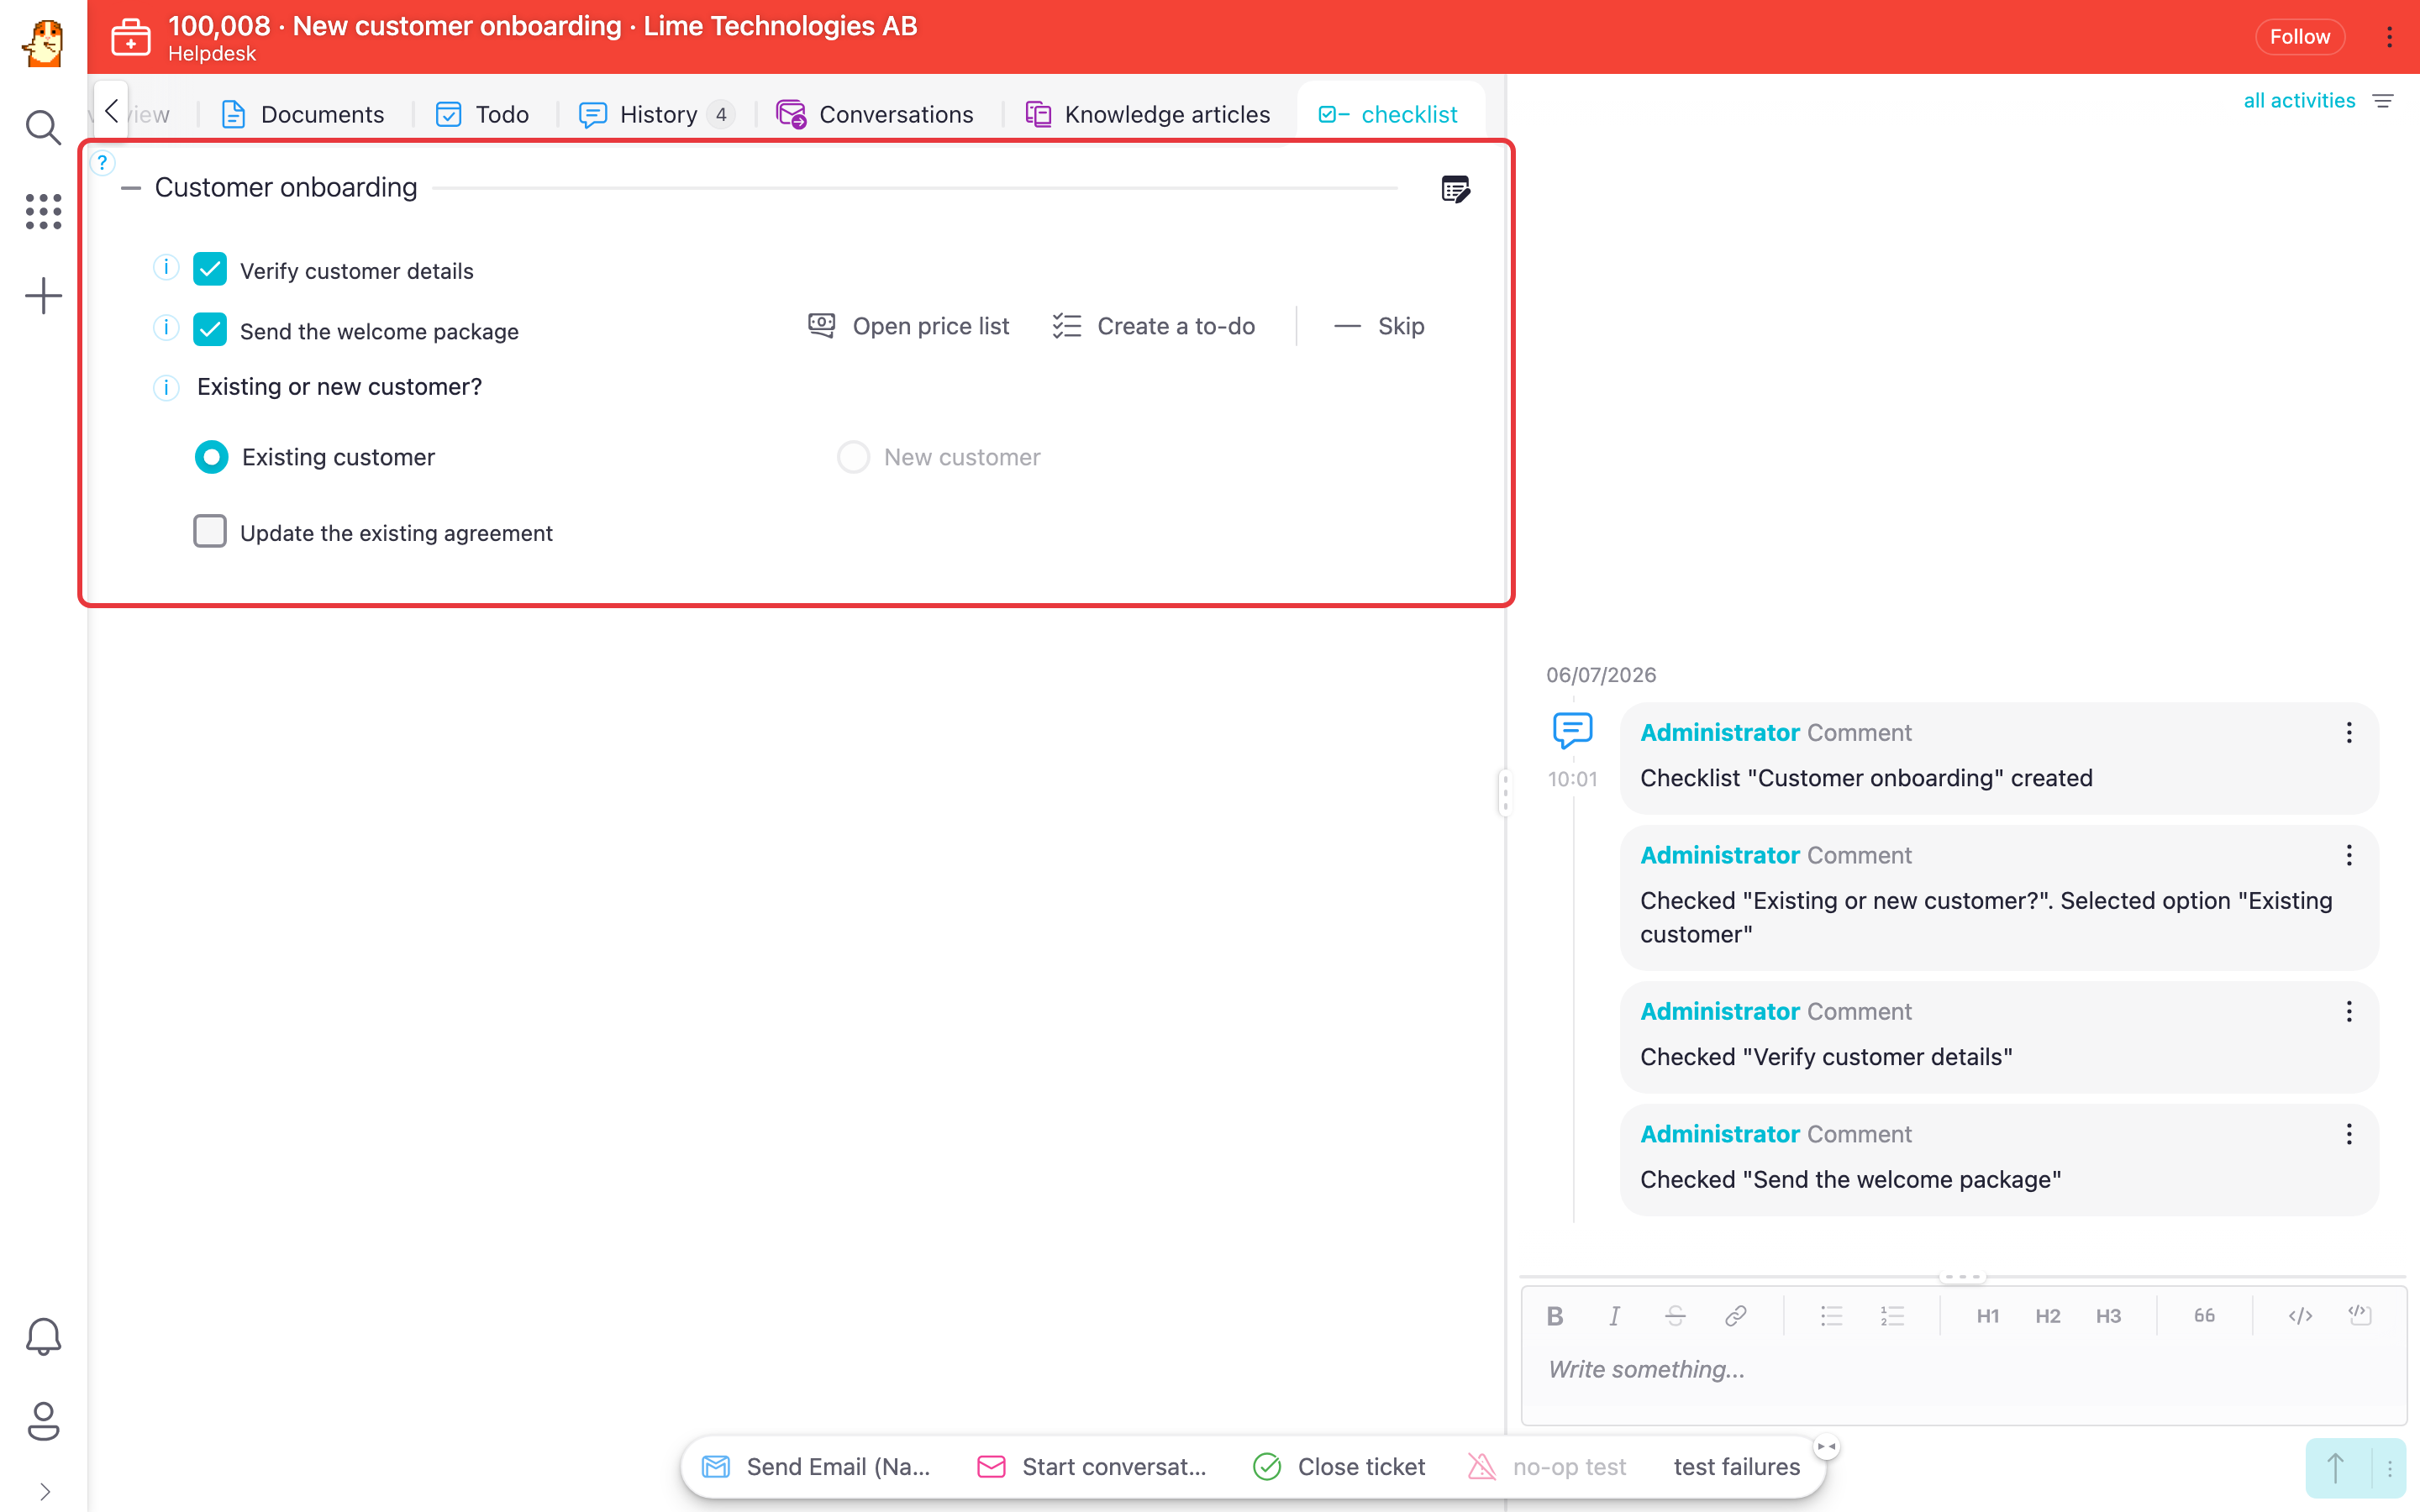
The checklist is shown directly on the record the user is working with, for example a helpdesk ticket or a deal. Which checklist template is applied is decided by a related record, such as the ticket's helpdesktype — so different types of tickets can follow different processes.
Checking items
The user works through the checklist from the top by checking items as they go. The checked item gets marked as done and the checklist moves on, making the next item the current step. Items can also be unchecked if something was checked by mistake.
Depending on how the template is configured, upcoming items are either hidden until they become relevant, or shown down to the next branch or group.
An item can have extra information behind a question mark icon, and the checklist can show who checked an item and when.
Questions and branches
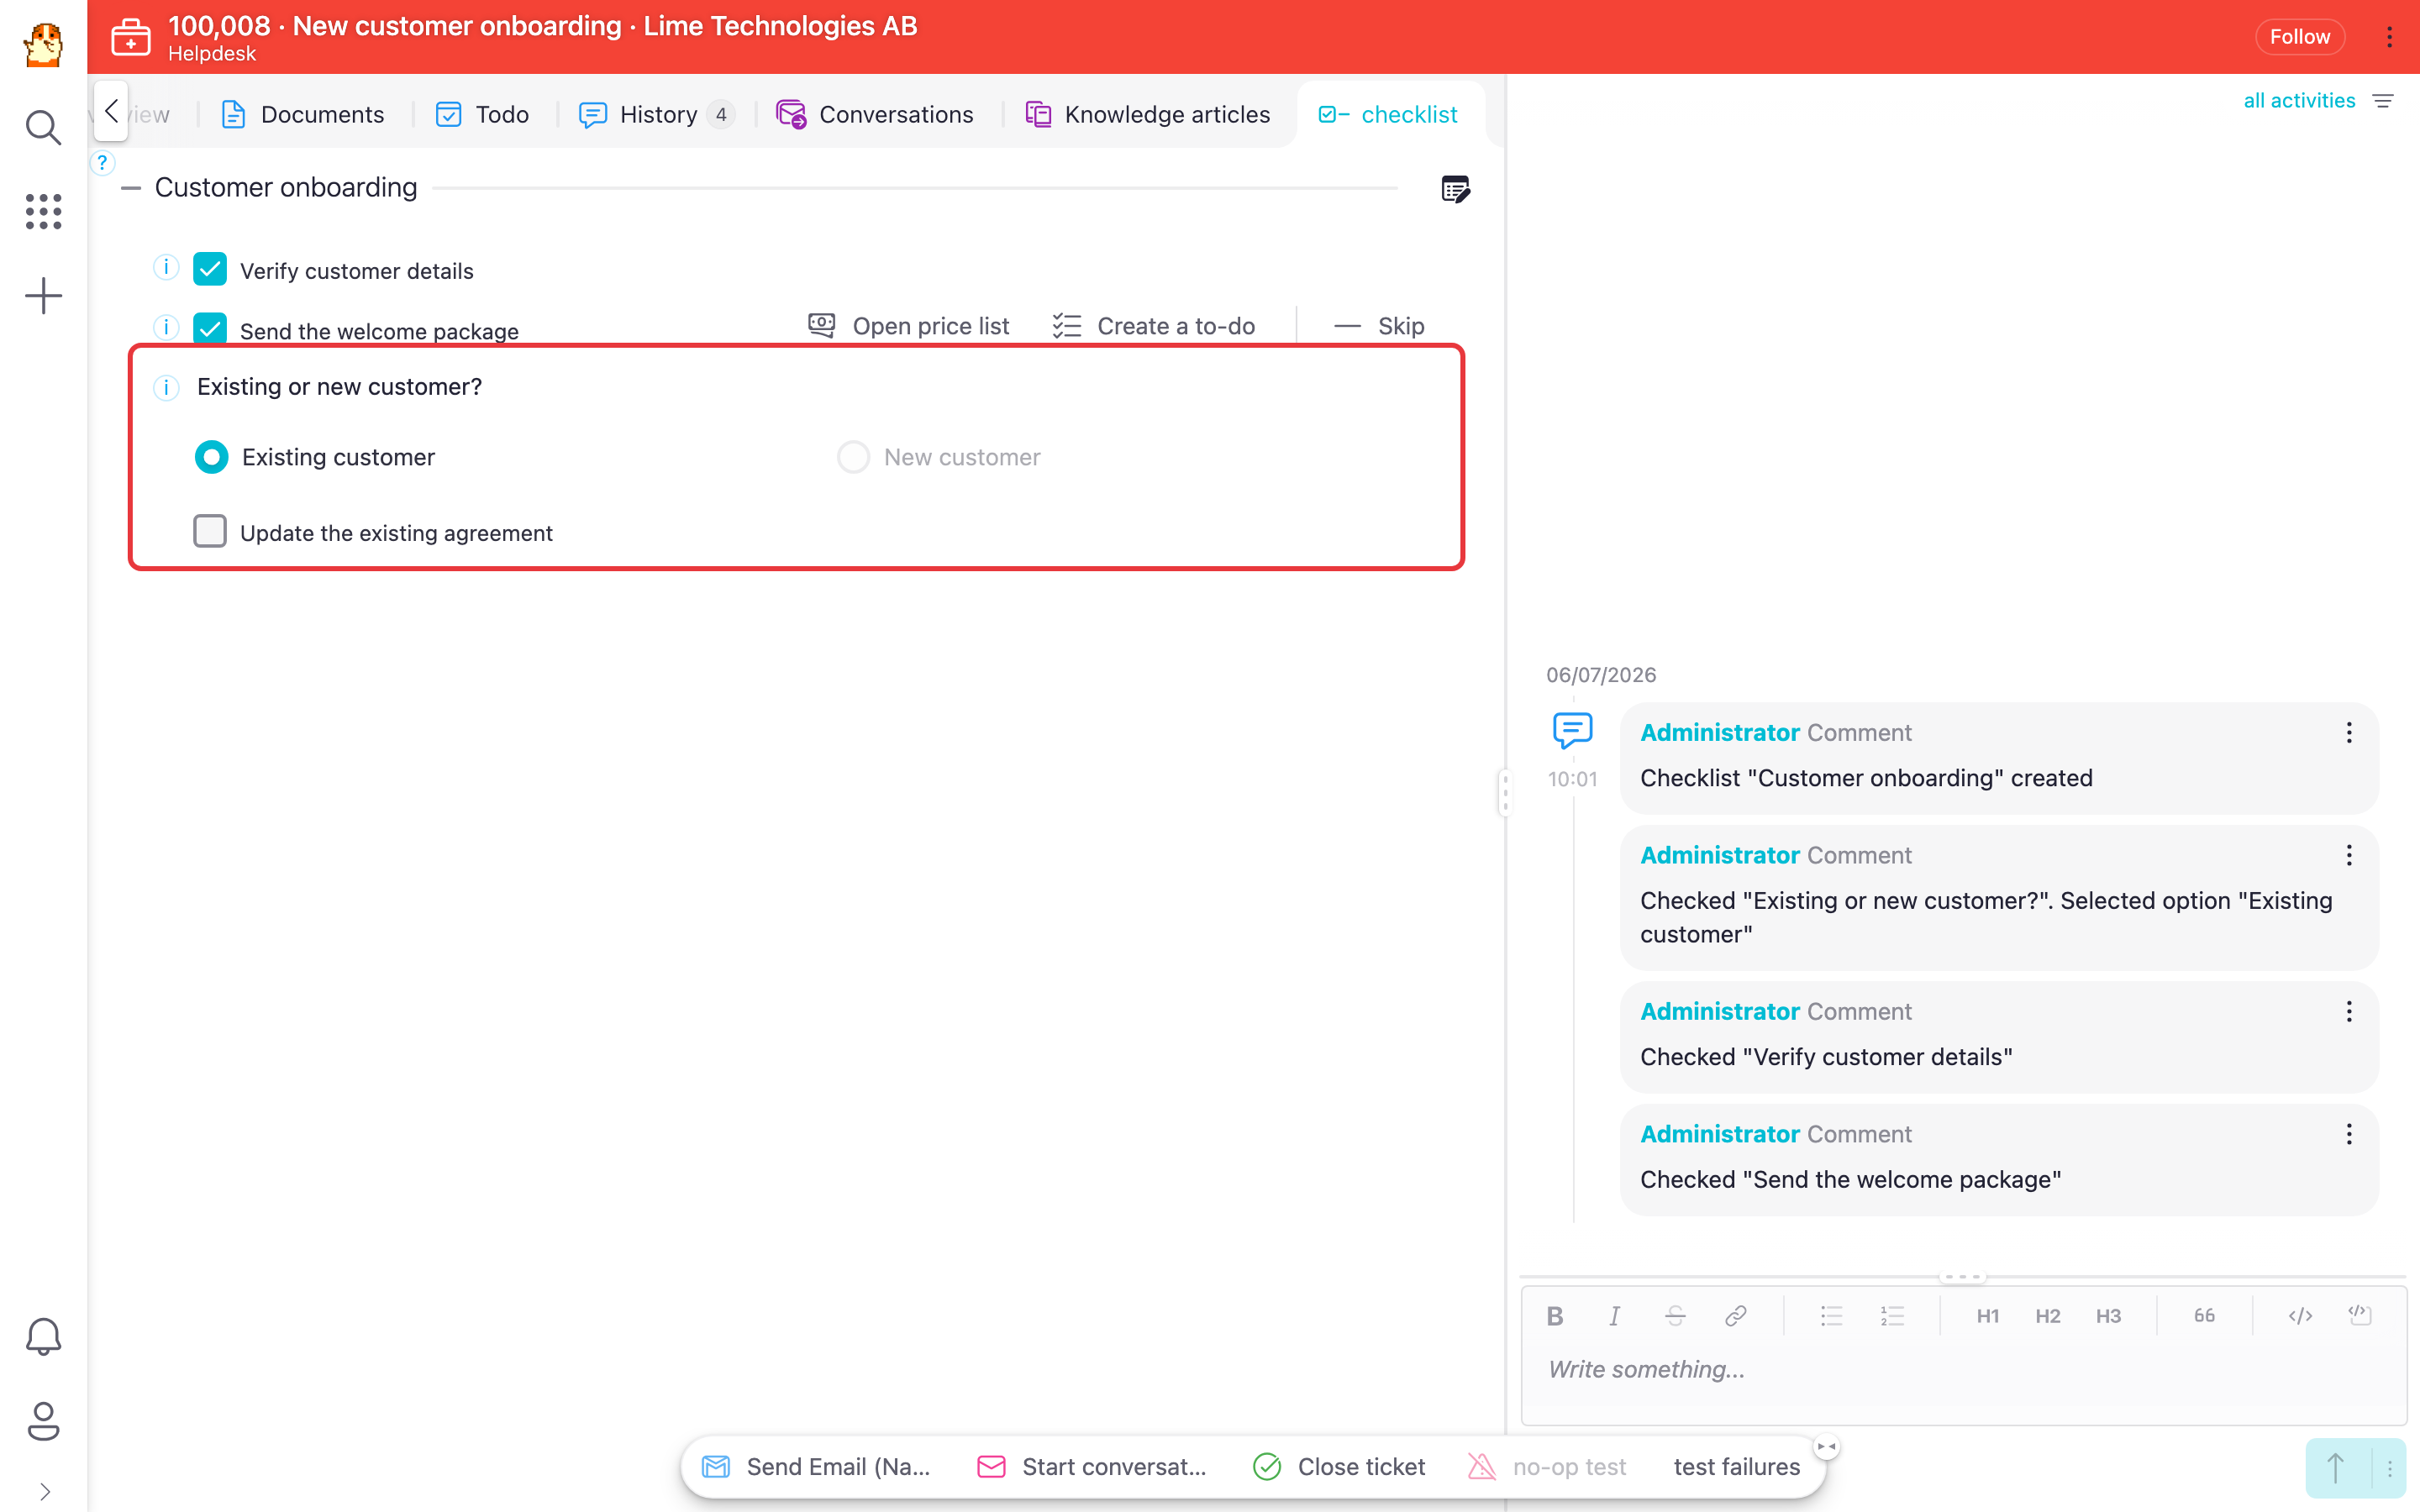
Some items are questions with two or more alternatives. When the user picks an alternative, the checklist continues down that branch. This is how the same checklist can support different paths through a process — see the examples in the overview.
Skipping items
Items that are not relevant can be skipped using the item's Skip action. A skipped item can be brought back with Include. If an item is configured with Item can't be skipped, the skip option is not available and the user must complete it.
Notes
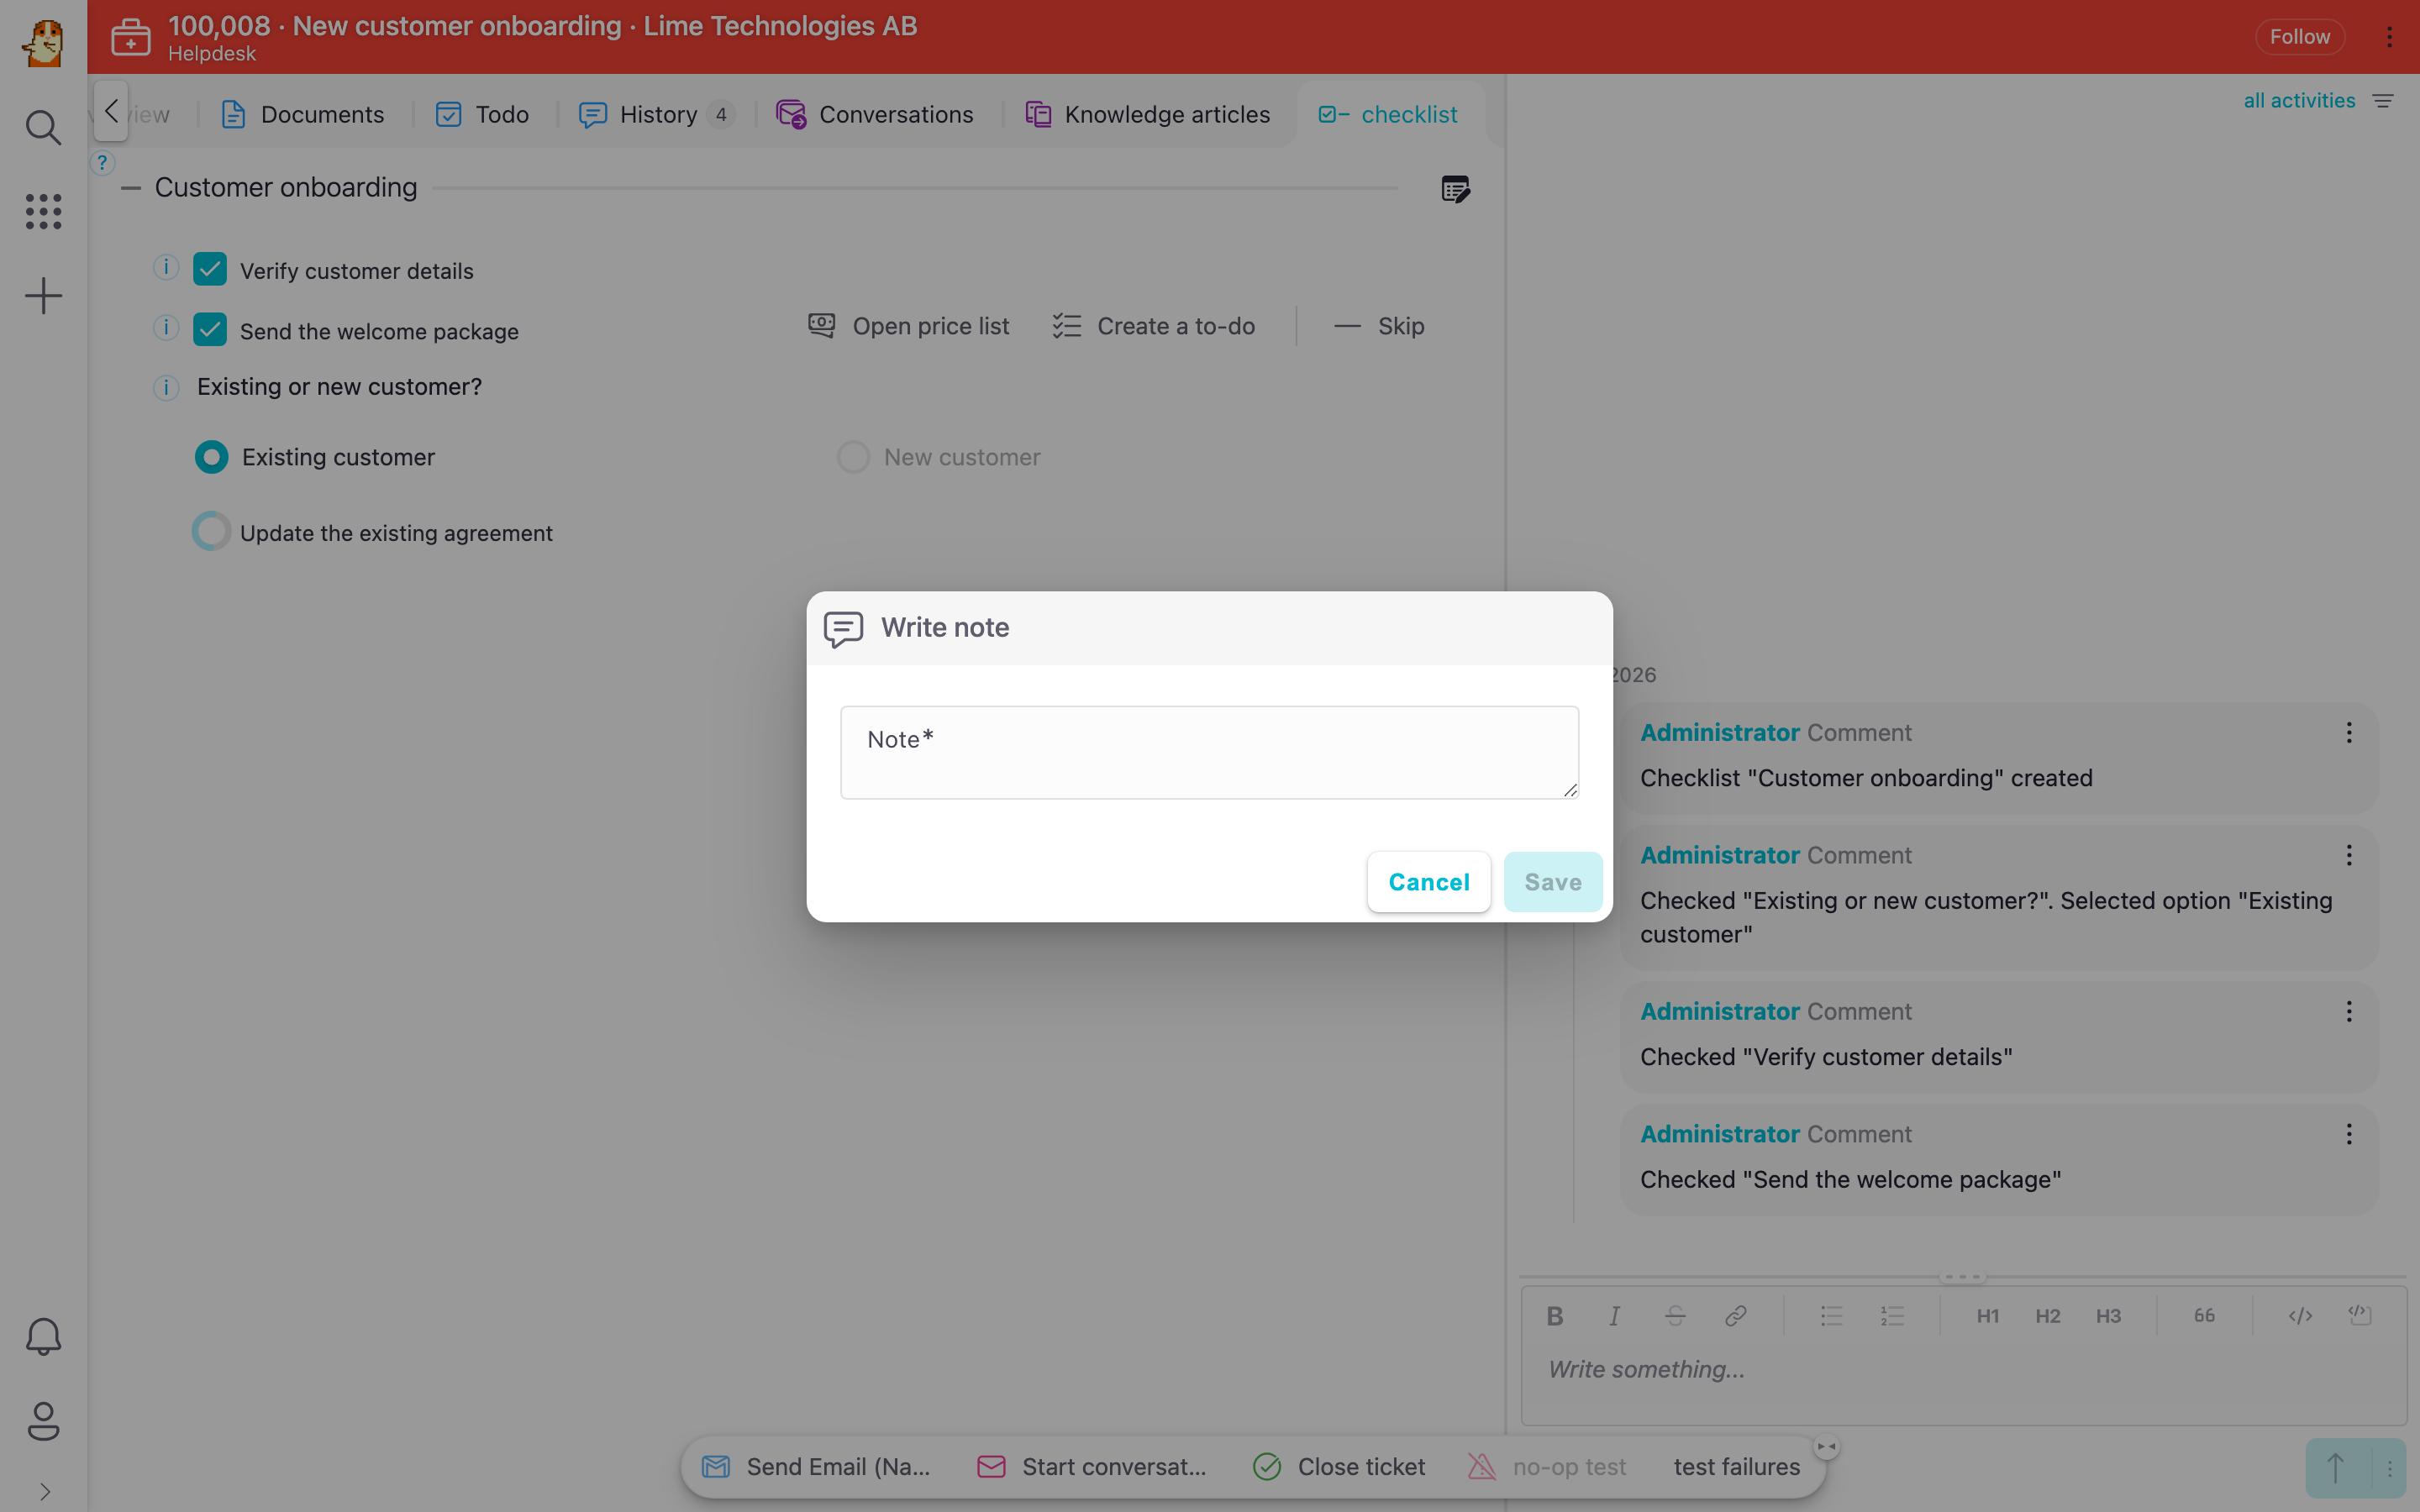
The user can write a note on an item. An item can also be configured to require a note — the item then cannot be completed until the note is written.
Actions on items
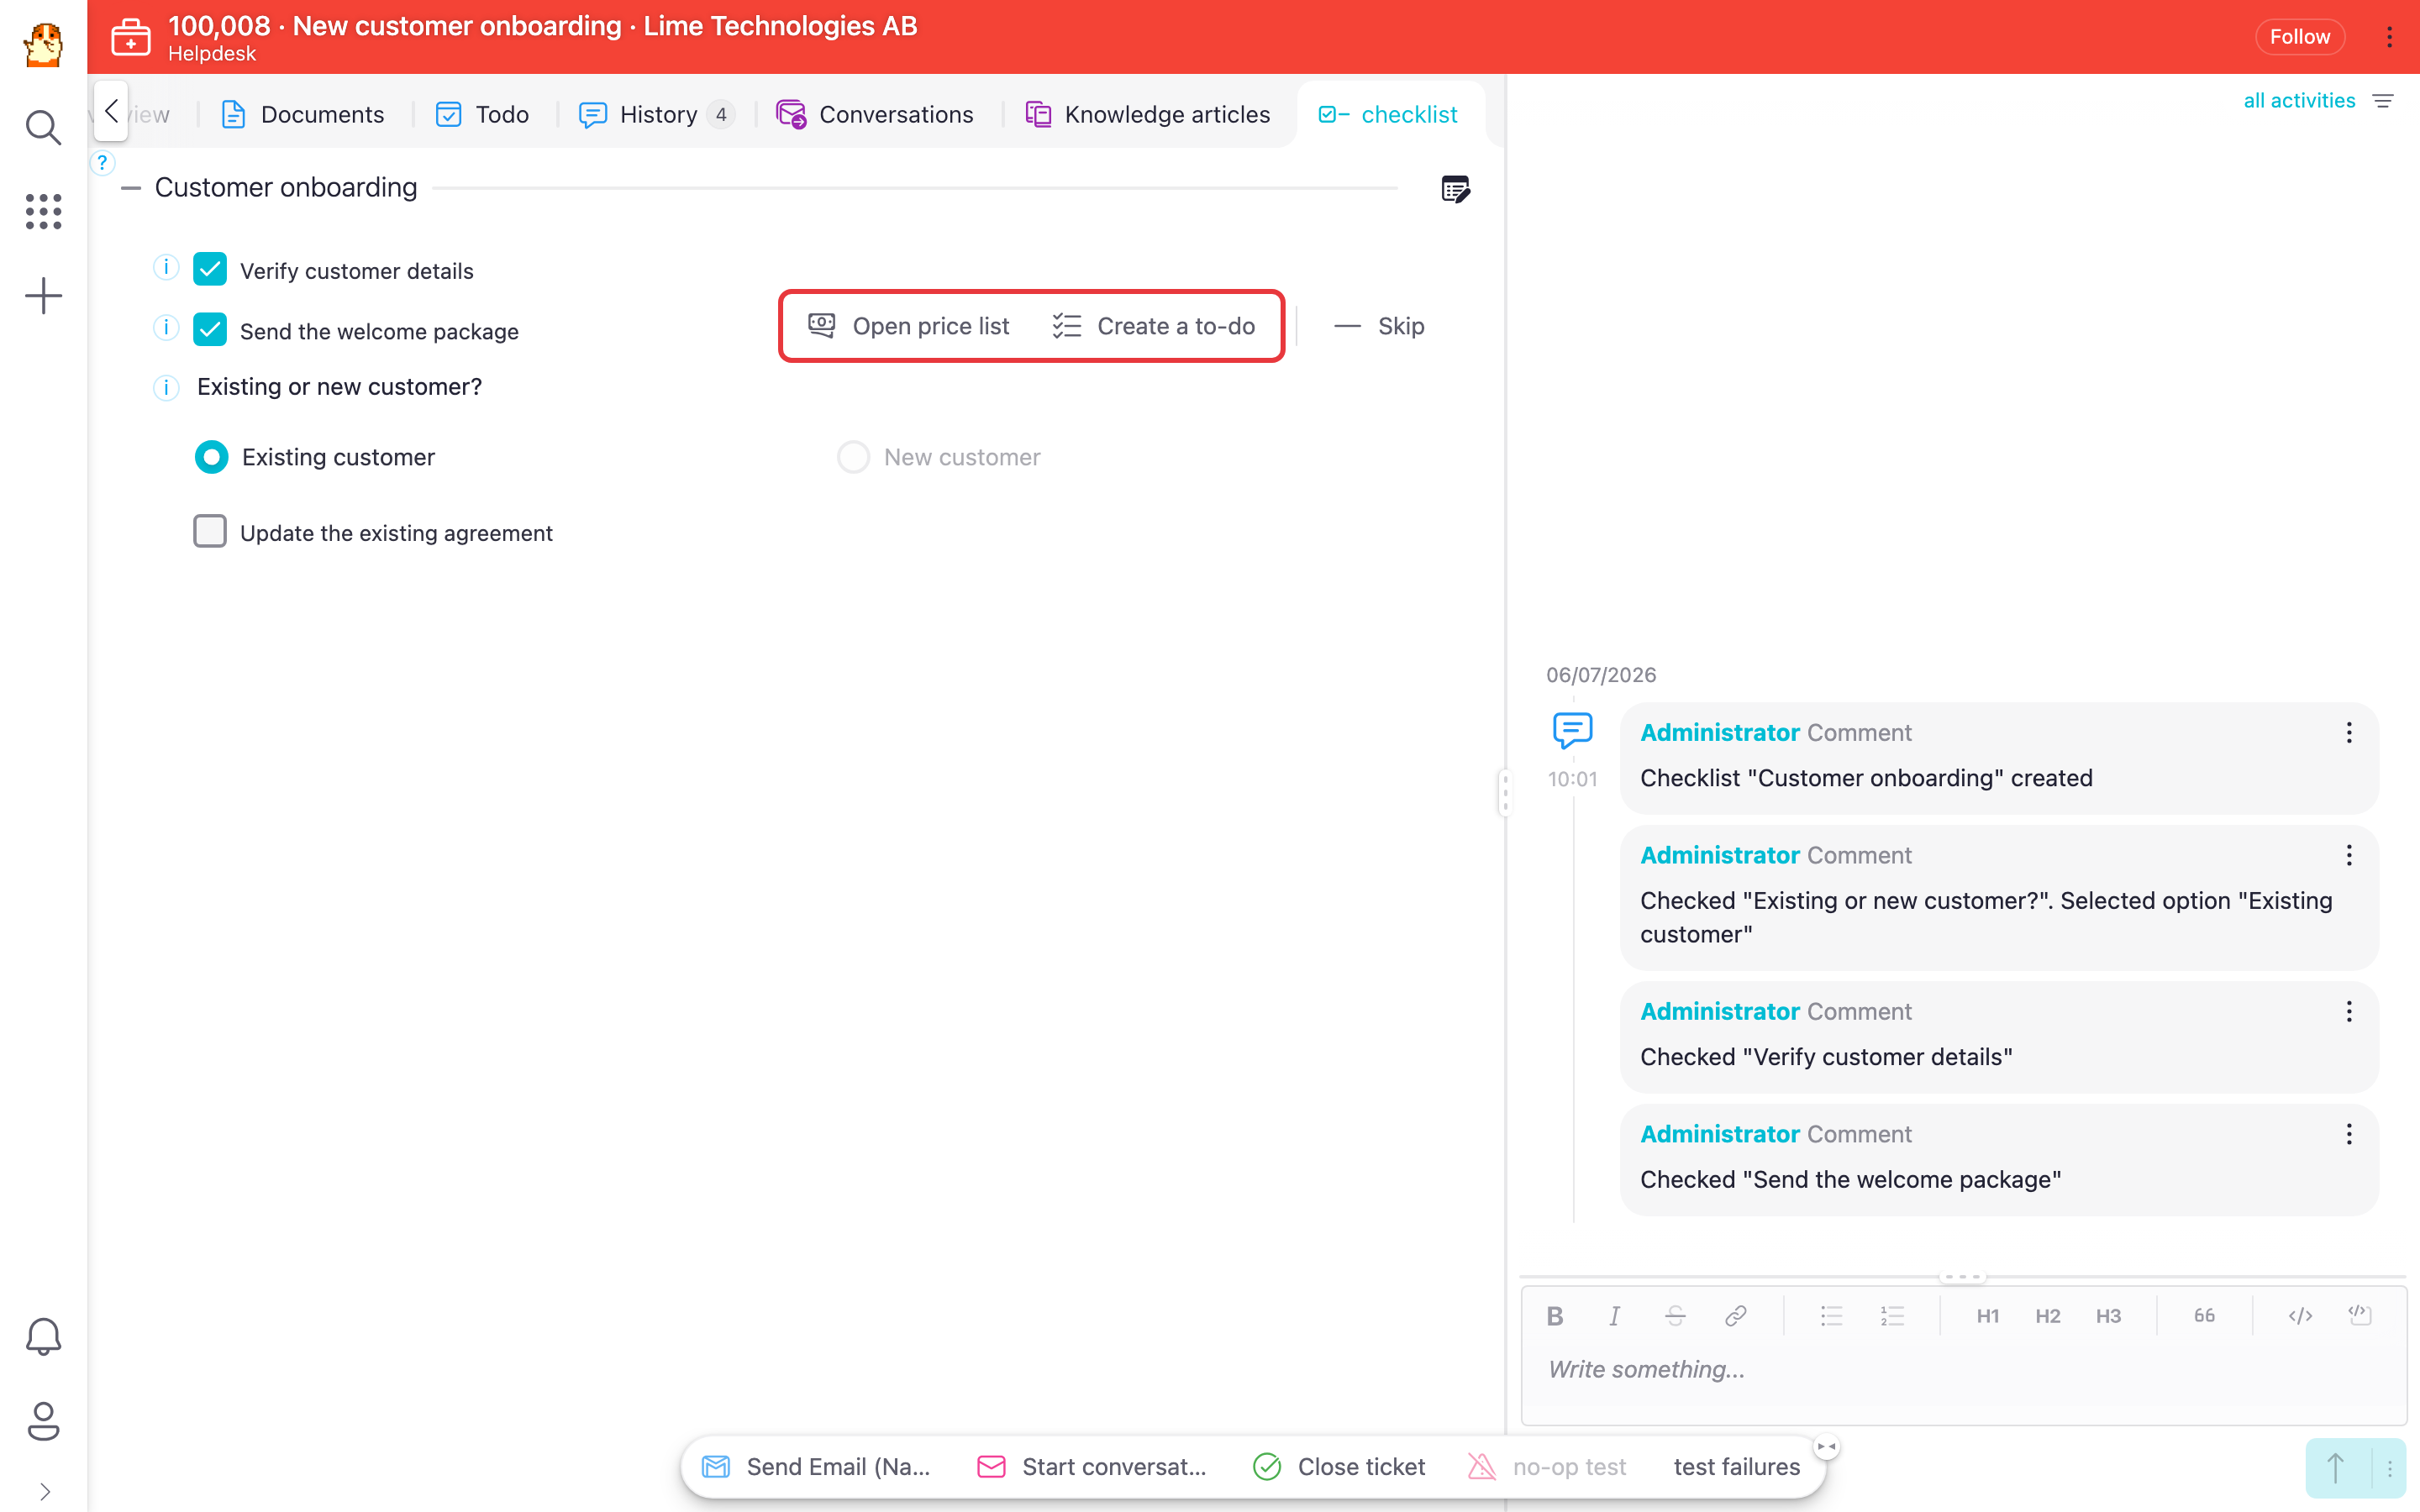
An item can have action buttons that the user can press when needed, for example to open a link, create a document or create a related object. These are optional for the user — pressing them is not required to complete the item.
An item can also be configured to do things automatically: set field values on the record, or run actions as soon as the item is checked. Automatic actions must finish before the checklist moves on — if an action is cancelled, the item stays unchecked, and if an action fails the user can choose to proceed or cancel. See Actions and field values.
Hard/Soft reset
Hard reset
Also known as Re-create checklist. This will wipe the entire progress of a checklist and fetch the newest version of the checklist template.
This is usually only available for admins because there's no way to undo it.
Soft reset
This will fetch the newest version of the checklist template, but will try to keep the progress of the checklist. It is a very useful thing if you've just made some minor changes in a checklist like changing name of item or action, document templates and such.
Warning
This feature can break the checklist if larger structual changes have been made in the checklist template.
Meaning you'll need to do a hard reset to be able to use it again.
The reason why we added it is because for each new version we try to add more and more validation of the checklist templates so that we can eliminate invalid templates and configuration.
This could lead to existing checklists becoming invalid due to more strict validation which could mean that a user working on a checklist could get error messages saying that their checklist is invalid after an upgrade of the package.
In the template builder you can see what validation that fails so that you can correct them, after that is fixed a user can then use the soft reset feature to fetch the newly fixes checklist template and continue their work.
Checklist builder
Start the Template Builder
The checklist template builder can be found in 2 different places depending on your configuration:
| In the browser menu | On a start page |
|---|---|
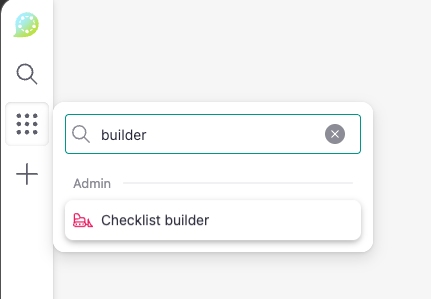 |
 |
Can't see it? Check troubleshooting for more info.
Create new or edit an existing checklist template
There are a few different ways to create a new checklist or open an existing one to edit it.
From inside the builder
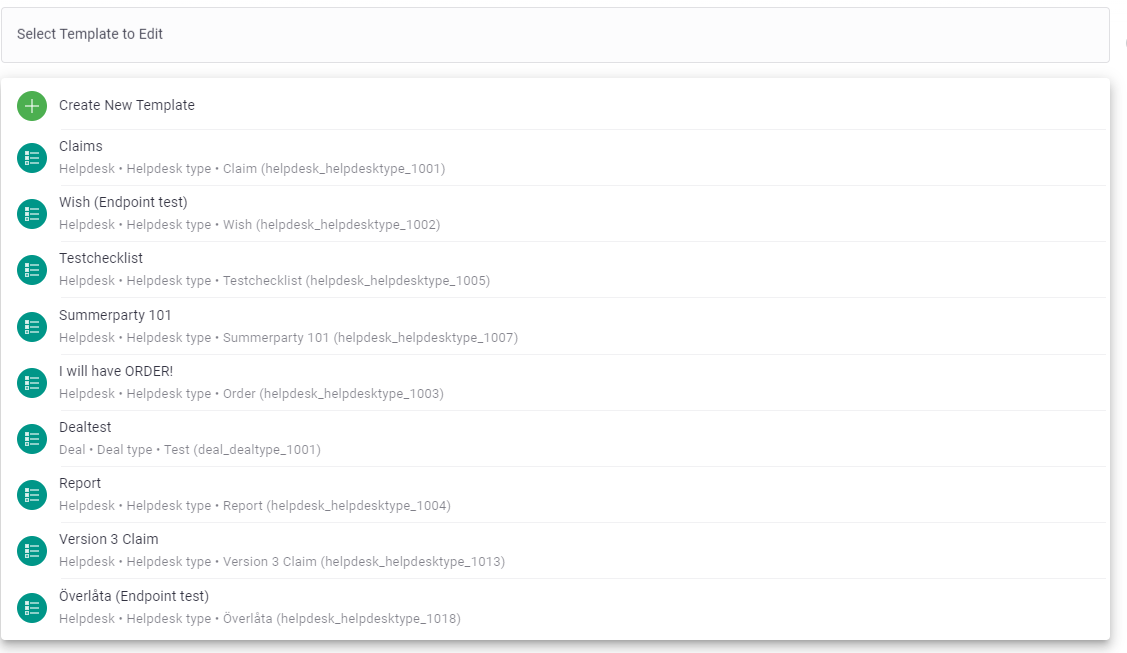
Once the template builder has loaded press Select Template to Edit.
Here you will see existing checklist templates and the possibility to create a new checklist template at the top.
From a record (template owner card)
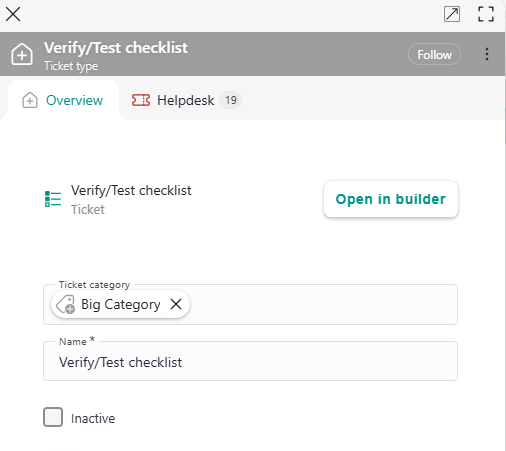
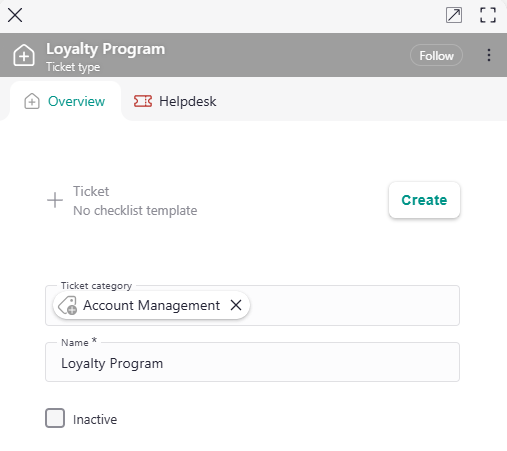
If the Template owner card is set up, you can create or open a checklist directly from a record such as a helpdesktype or dealtype.
- The card shows whether a checklist template is already connected to that record.
- If one exists, you get a button to open it in the builder.
- If none exists yet, you get a button to create one. The new template's settings (name, owner and which record it applies to) are then pre-filled for you, so you can go straight to building the checklist.
- When you open the builder from a record, that record is shown in a side panel so you have it close at hand while working.
Ticket owner has a template
Ticket owner has no template
About the template attributes
Each template has three attributes shown as OwnerLimetype_TemplateOwner_TemplatePropertyID
- Checklist Owner is the limetype where the checklist is installed. E.g
helpdesk. - Checklist Template Owner is a related limetype to Checklist Owner. E.g
helpdesktype. Checklist Template Owner belongs to Checklist Owner. - TemplatePropertyID is the
PostIDof the Template Owner. Use dropdown menu to pick your ID. No hits? - See here
A template can only be connected to one PostID and one PostID can be only be connected to one checklist template.
General Settings of a Template
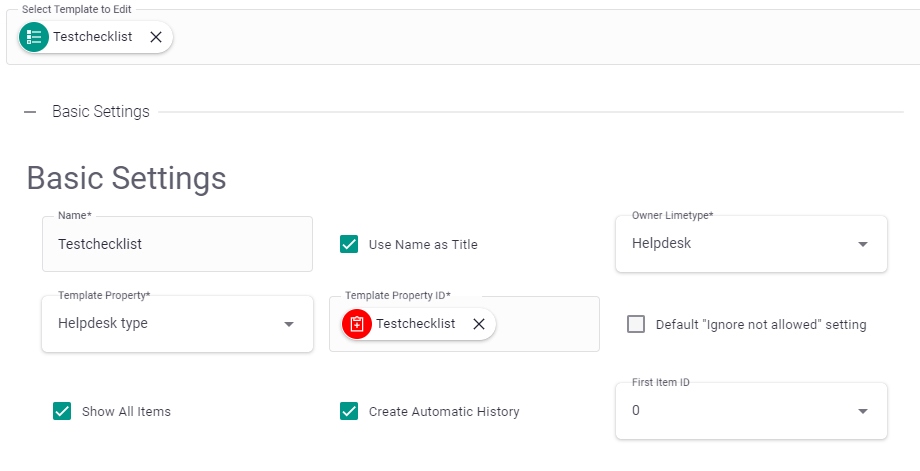
When you first create a checklist template you set the general settings for that template. These settings applies to all checklist items in the template.
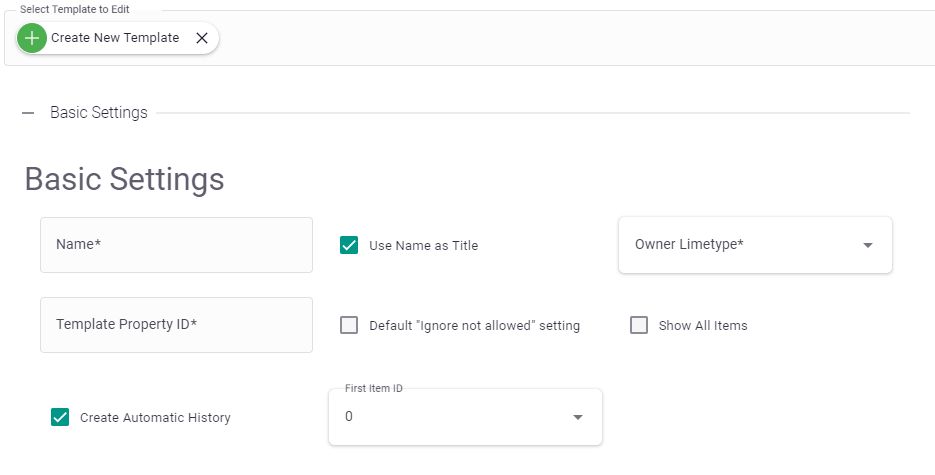
| Name | Description |
|---|---|
| Name | The name of the checklist template |
| Description | An optional text shown to users at the top of the checklist, behind the question mark icon. Supports rich text (bold, links, lists and so on). |
| Used on (Owner Limetype) | On which limetype should the checklist be visible on? E.g. helpdesk or deal |
| Show based on (Template Property) | Which relation field/limetype is used to decide what checklist to display? E.g. helpdesktype or dealtype. |
| Applies to (Checklist template owner) | Visible after choosing Owner Limetype and Template Property - This connects the checklist template to a certain helpdesktype or dealtype object. |
| New items are required by default | The default value of the item setting Item can't be skipped for new items added in the template builder. Affects only items added after turning this on, existing items keep their setting. |
| Hide upcoming items | Enable this to hide upcoming checklist items. Leave disabled if you want to show upcoming items down to the next branch or group if you use groups |
| Log changes to history automatically | Everytime a checklist is created, a checklist item is checked or unchecked an automatic history note will be created. |
| Set field values when the item becomes active | Here it is possible to add properties from owner to update when the step is activated (set as Current step). If the property is marked as show in title, it will also be shown next to the title in the checklist. Read more about how to set property values |
| Set field values when the item is checked | Here it is possible to add properties from owner to update when the step is marked as done. Read more about how to set property values |
| Run actions automatically when checked | Here it is possible to add actions to run when the step is marked as done. You can configure custom or standard actions here. |
Example of basic settings:
Overview of checklist builder
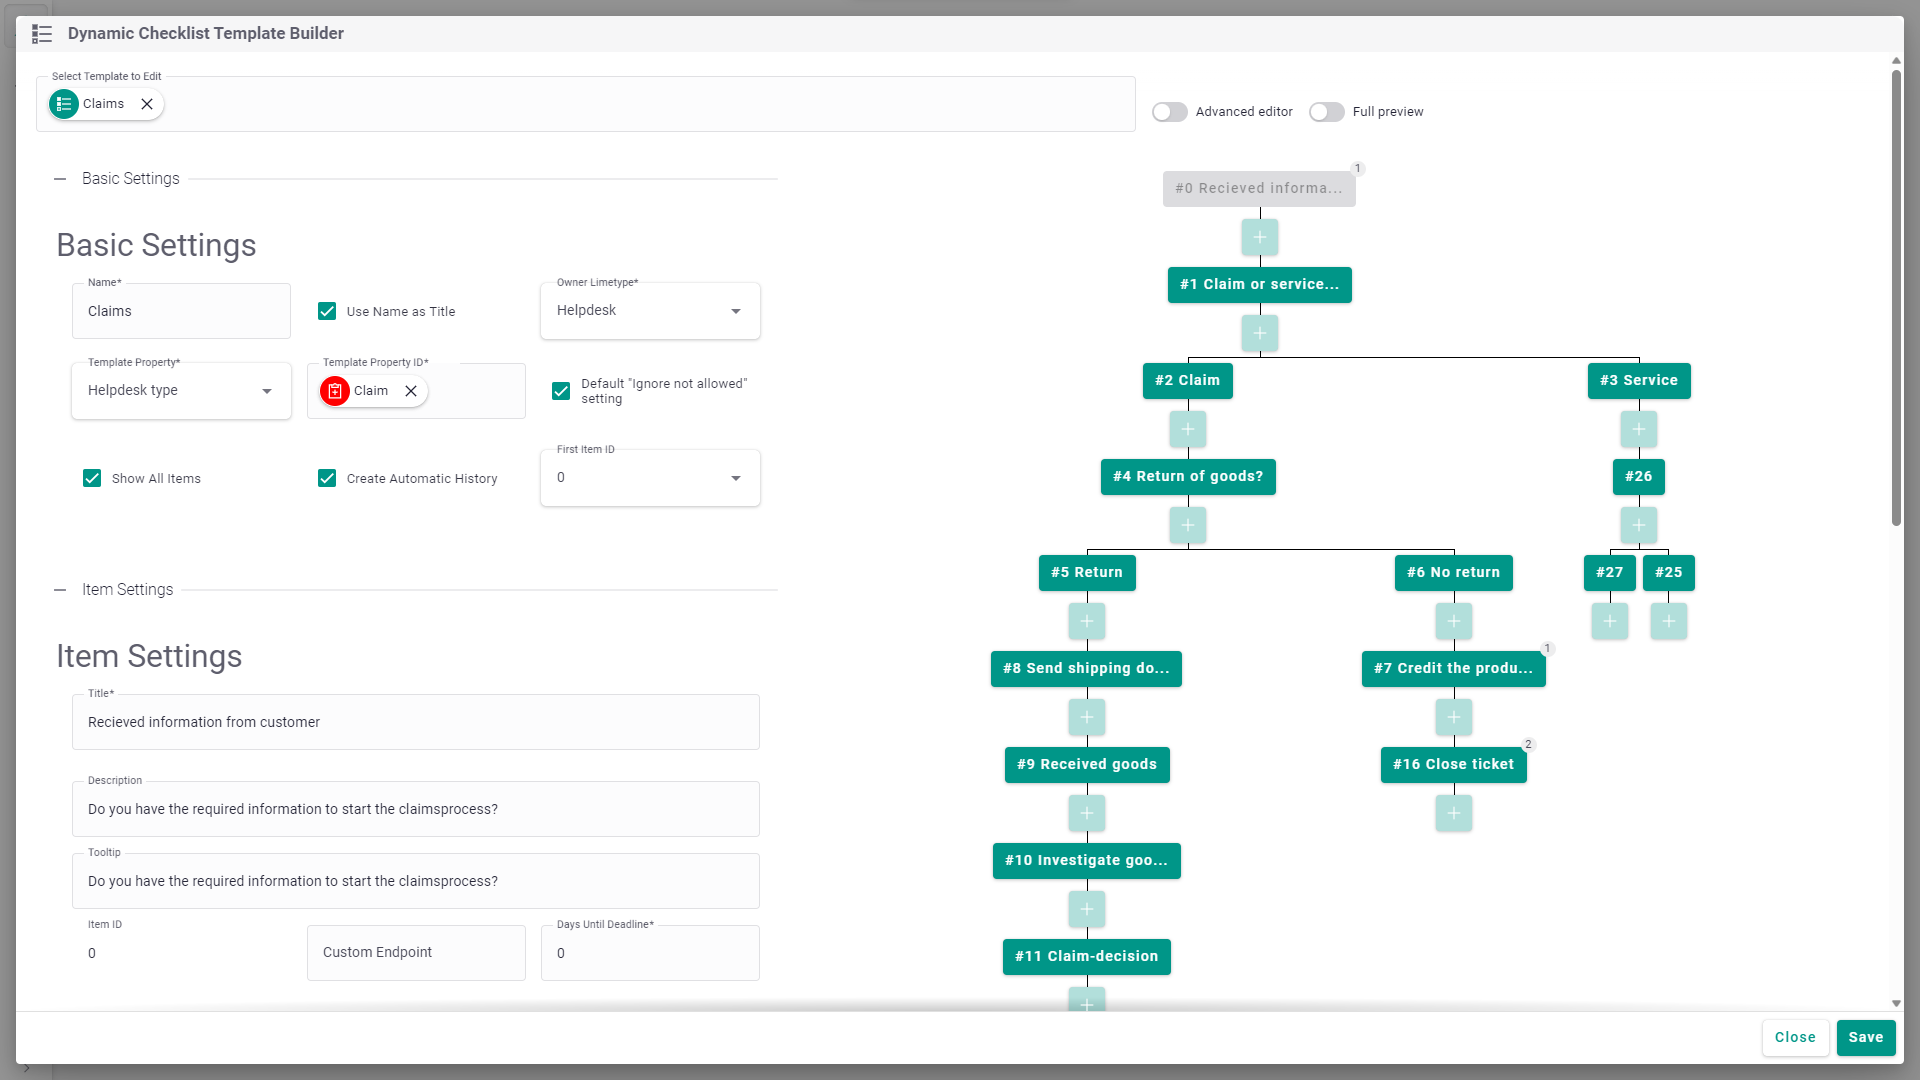
Working in the builder
The builder has a few tools to make it easier to work with larger checklists:
- Edit / Preview toggle: Switch between editing the checklist and seeing a full preview of how it will look and behave for the user.
- Compact and detailed views: Choose between a compact overview of all items, or a more detailed view with more information on each item.
- Zoom and resize: Zoom in and out of the checklist tree, and resize the settings panel so you can see more of the checklist.
- Open items and records: Click an item to edit its settings. When an item points to a related record, you can click it to open that record in a side panel.
Saved versions (history)
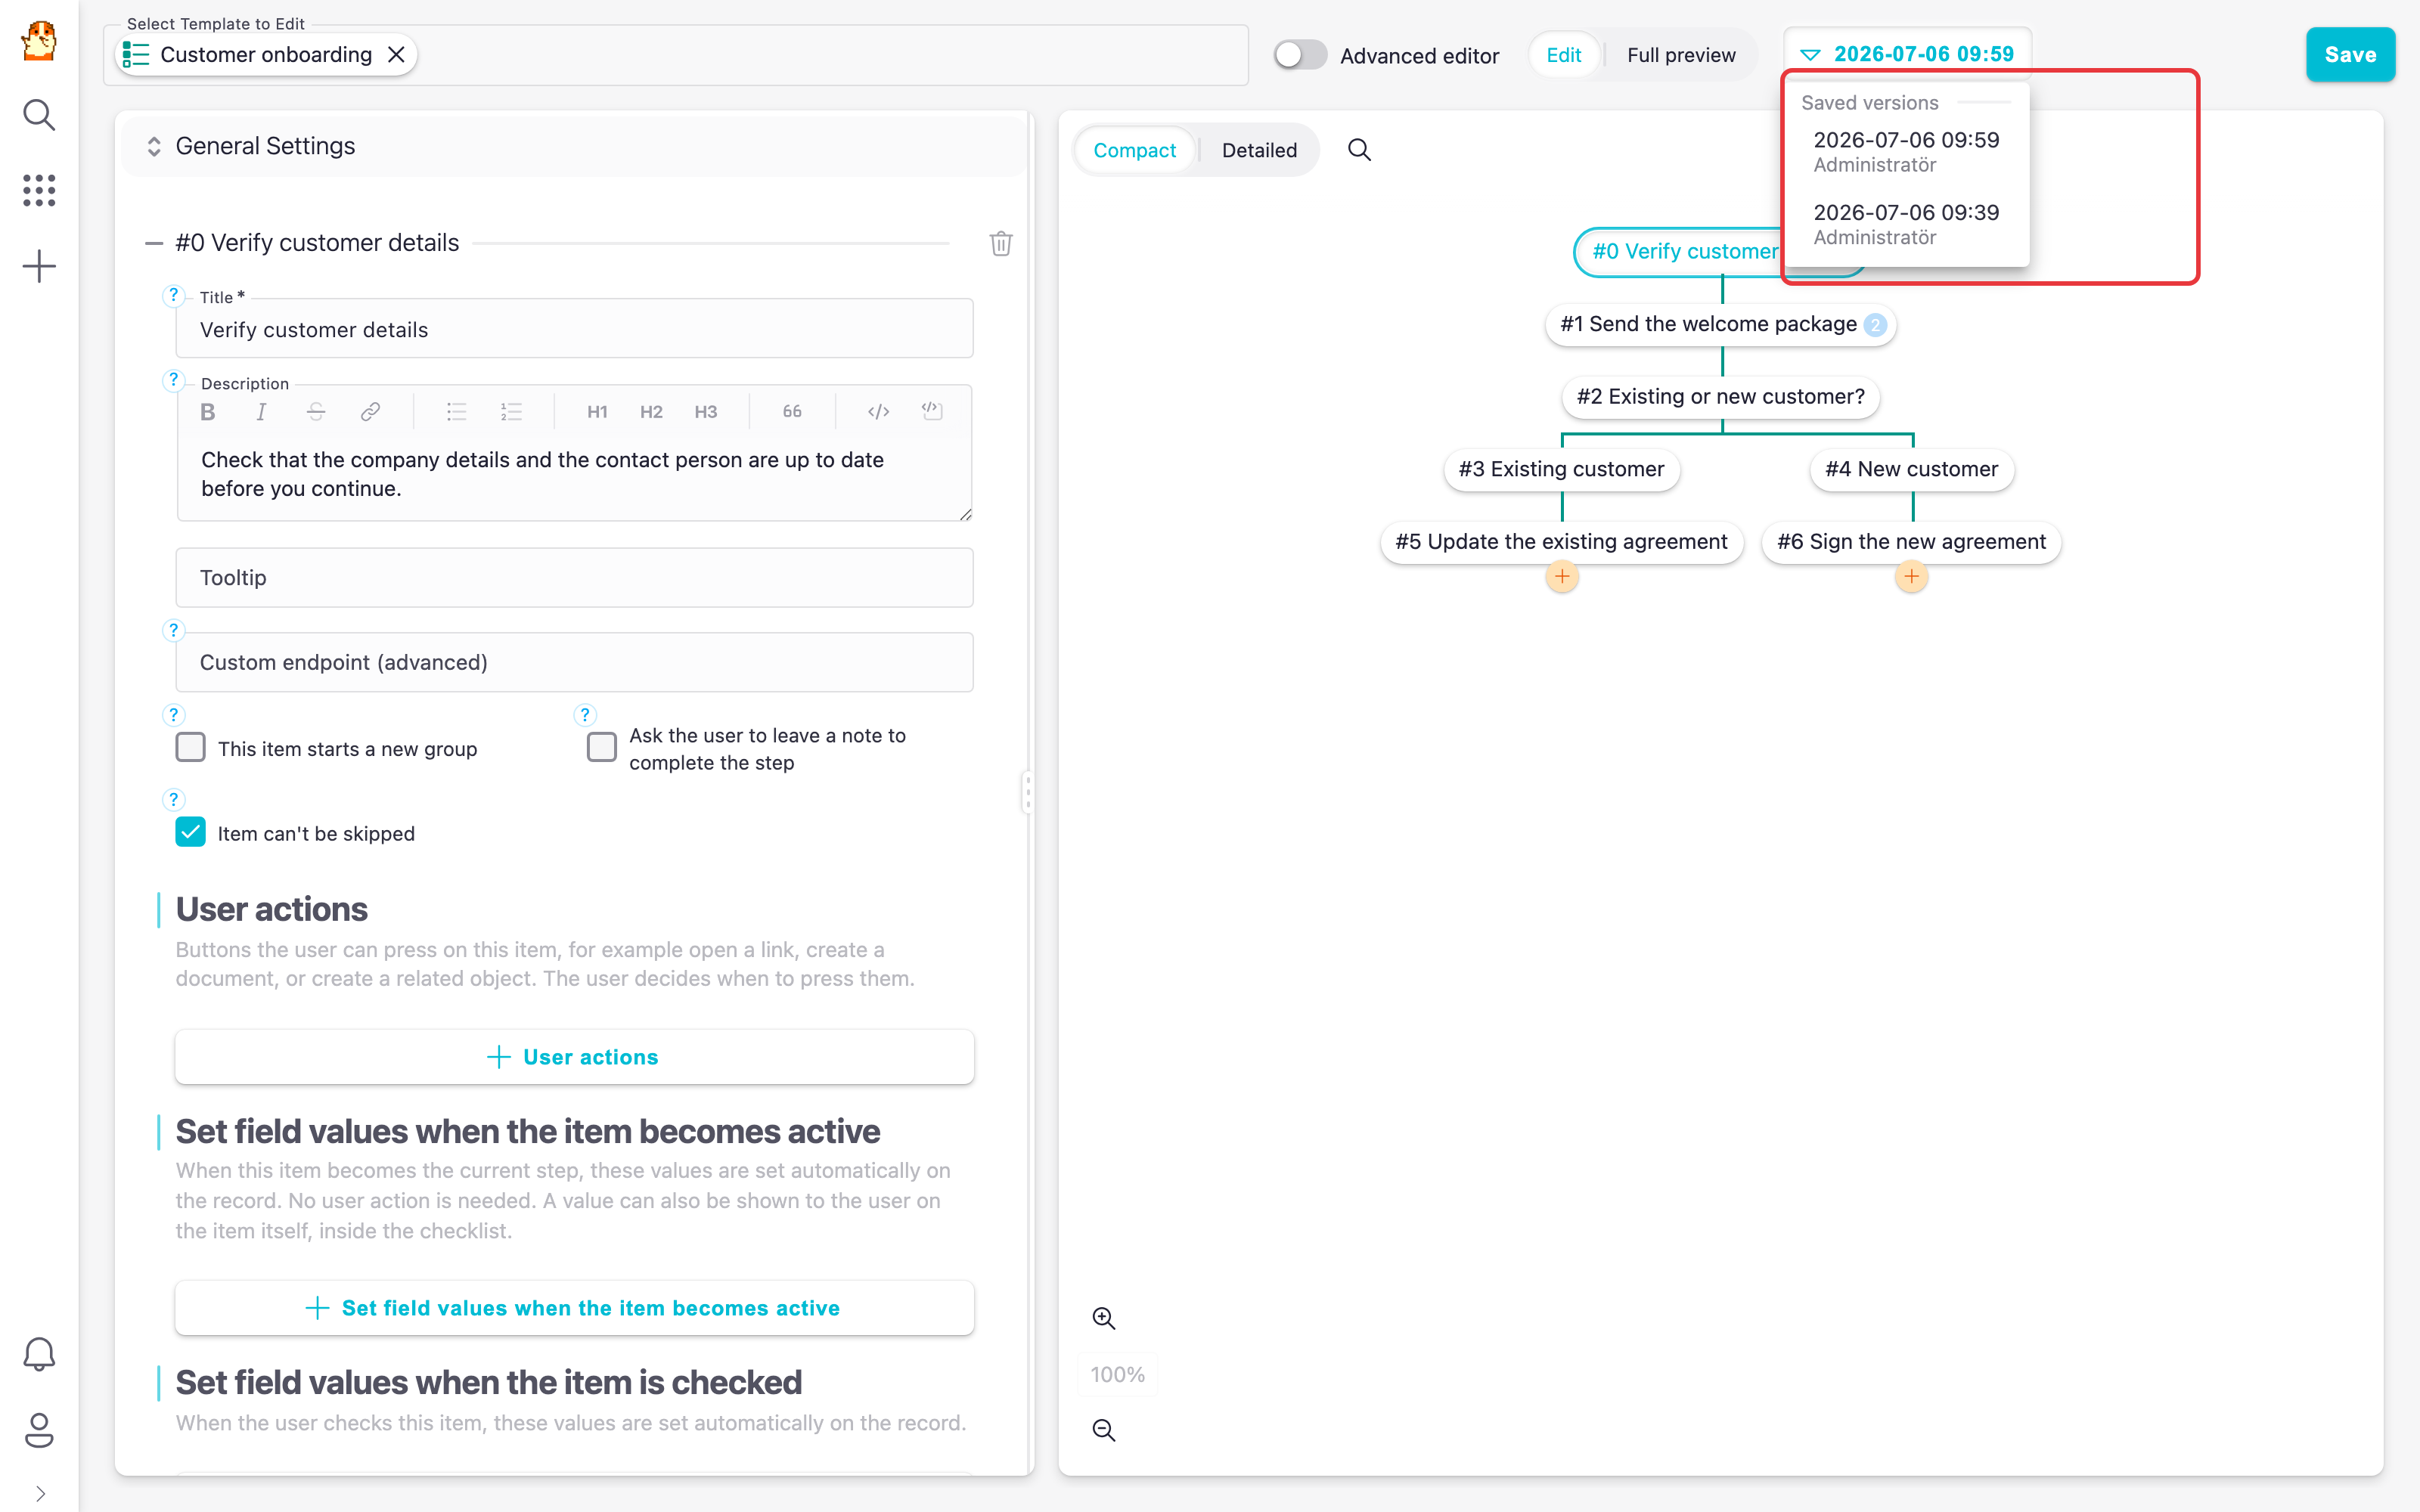
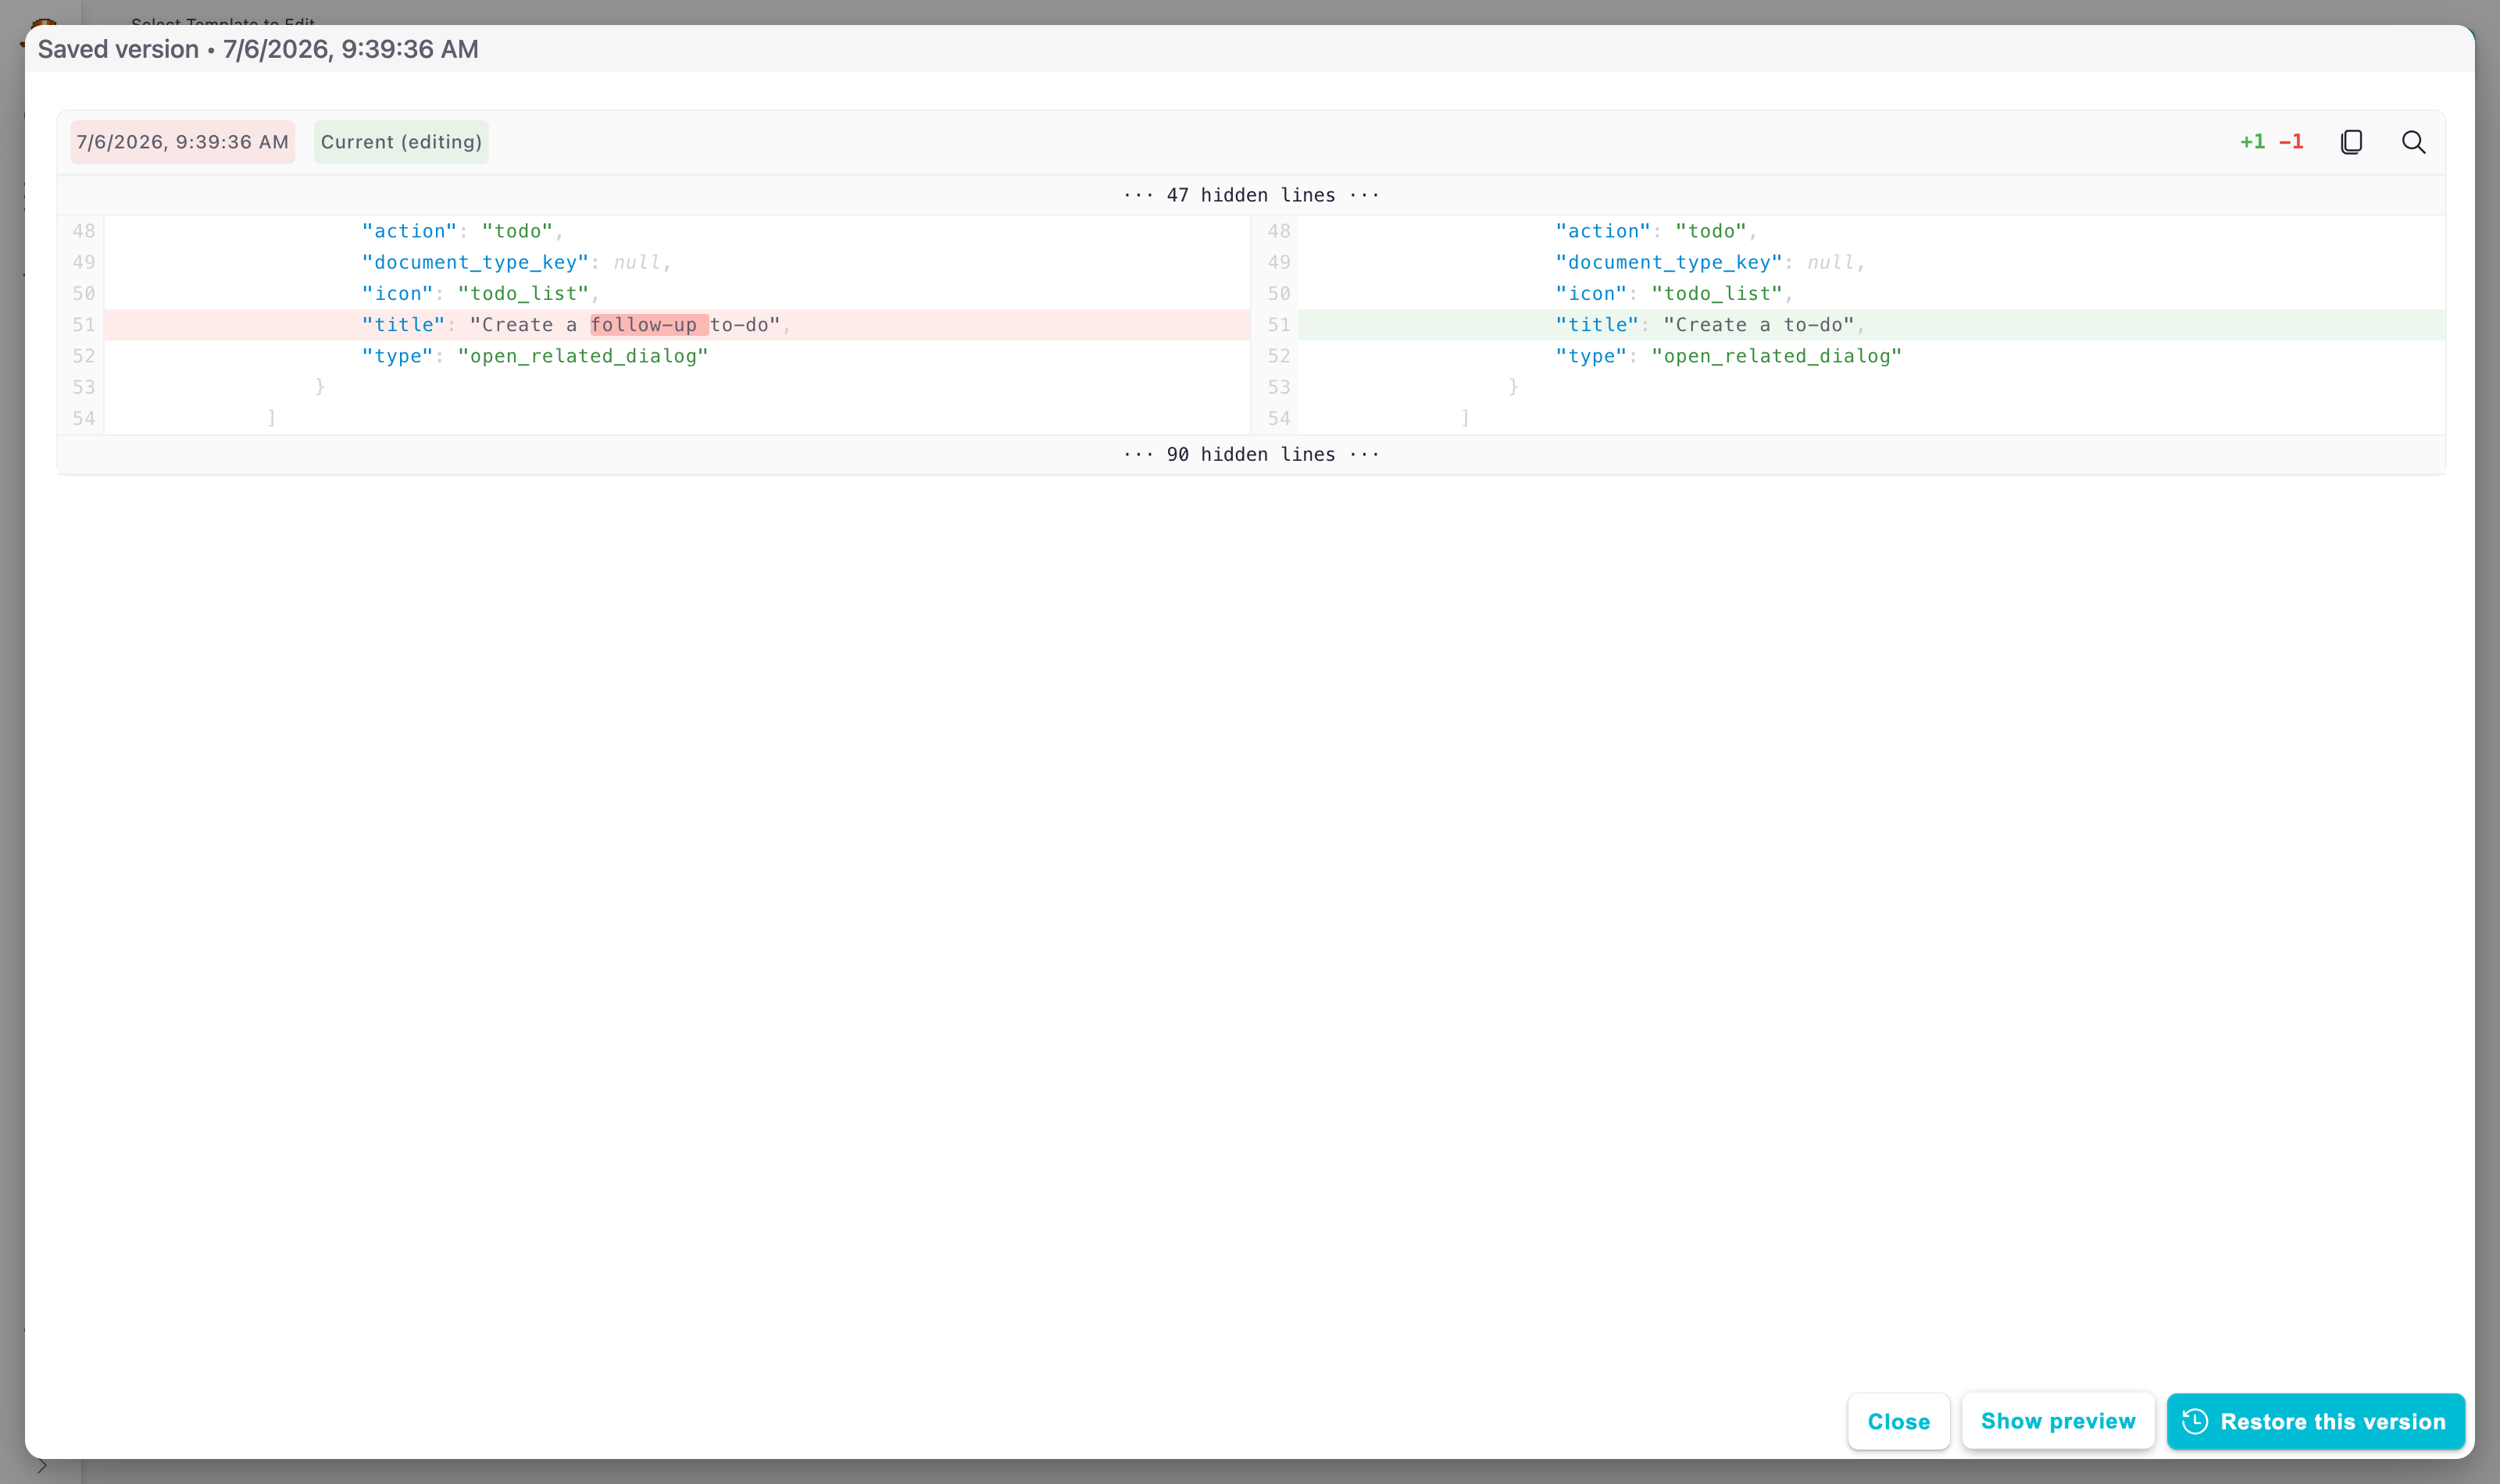
Every time you save a checklist template, a version is saved. In the builder you can open the list of saved versions and pick an older one to look at.
- Selecting a version shows you exactly how the checklist looked at that point in time.
- You can compare a saved version with the current one to see what changed (show diff).
This makes it easy to see the history of a checklist and understand what was changed and when.
Read-only mode
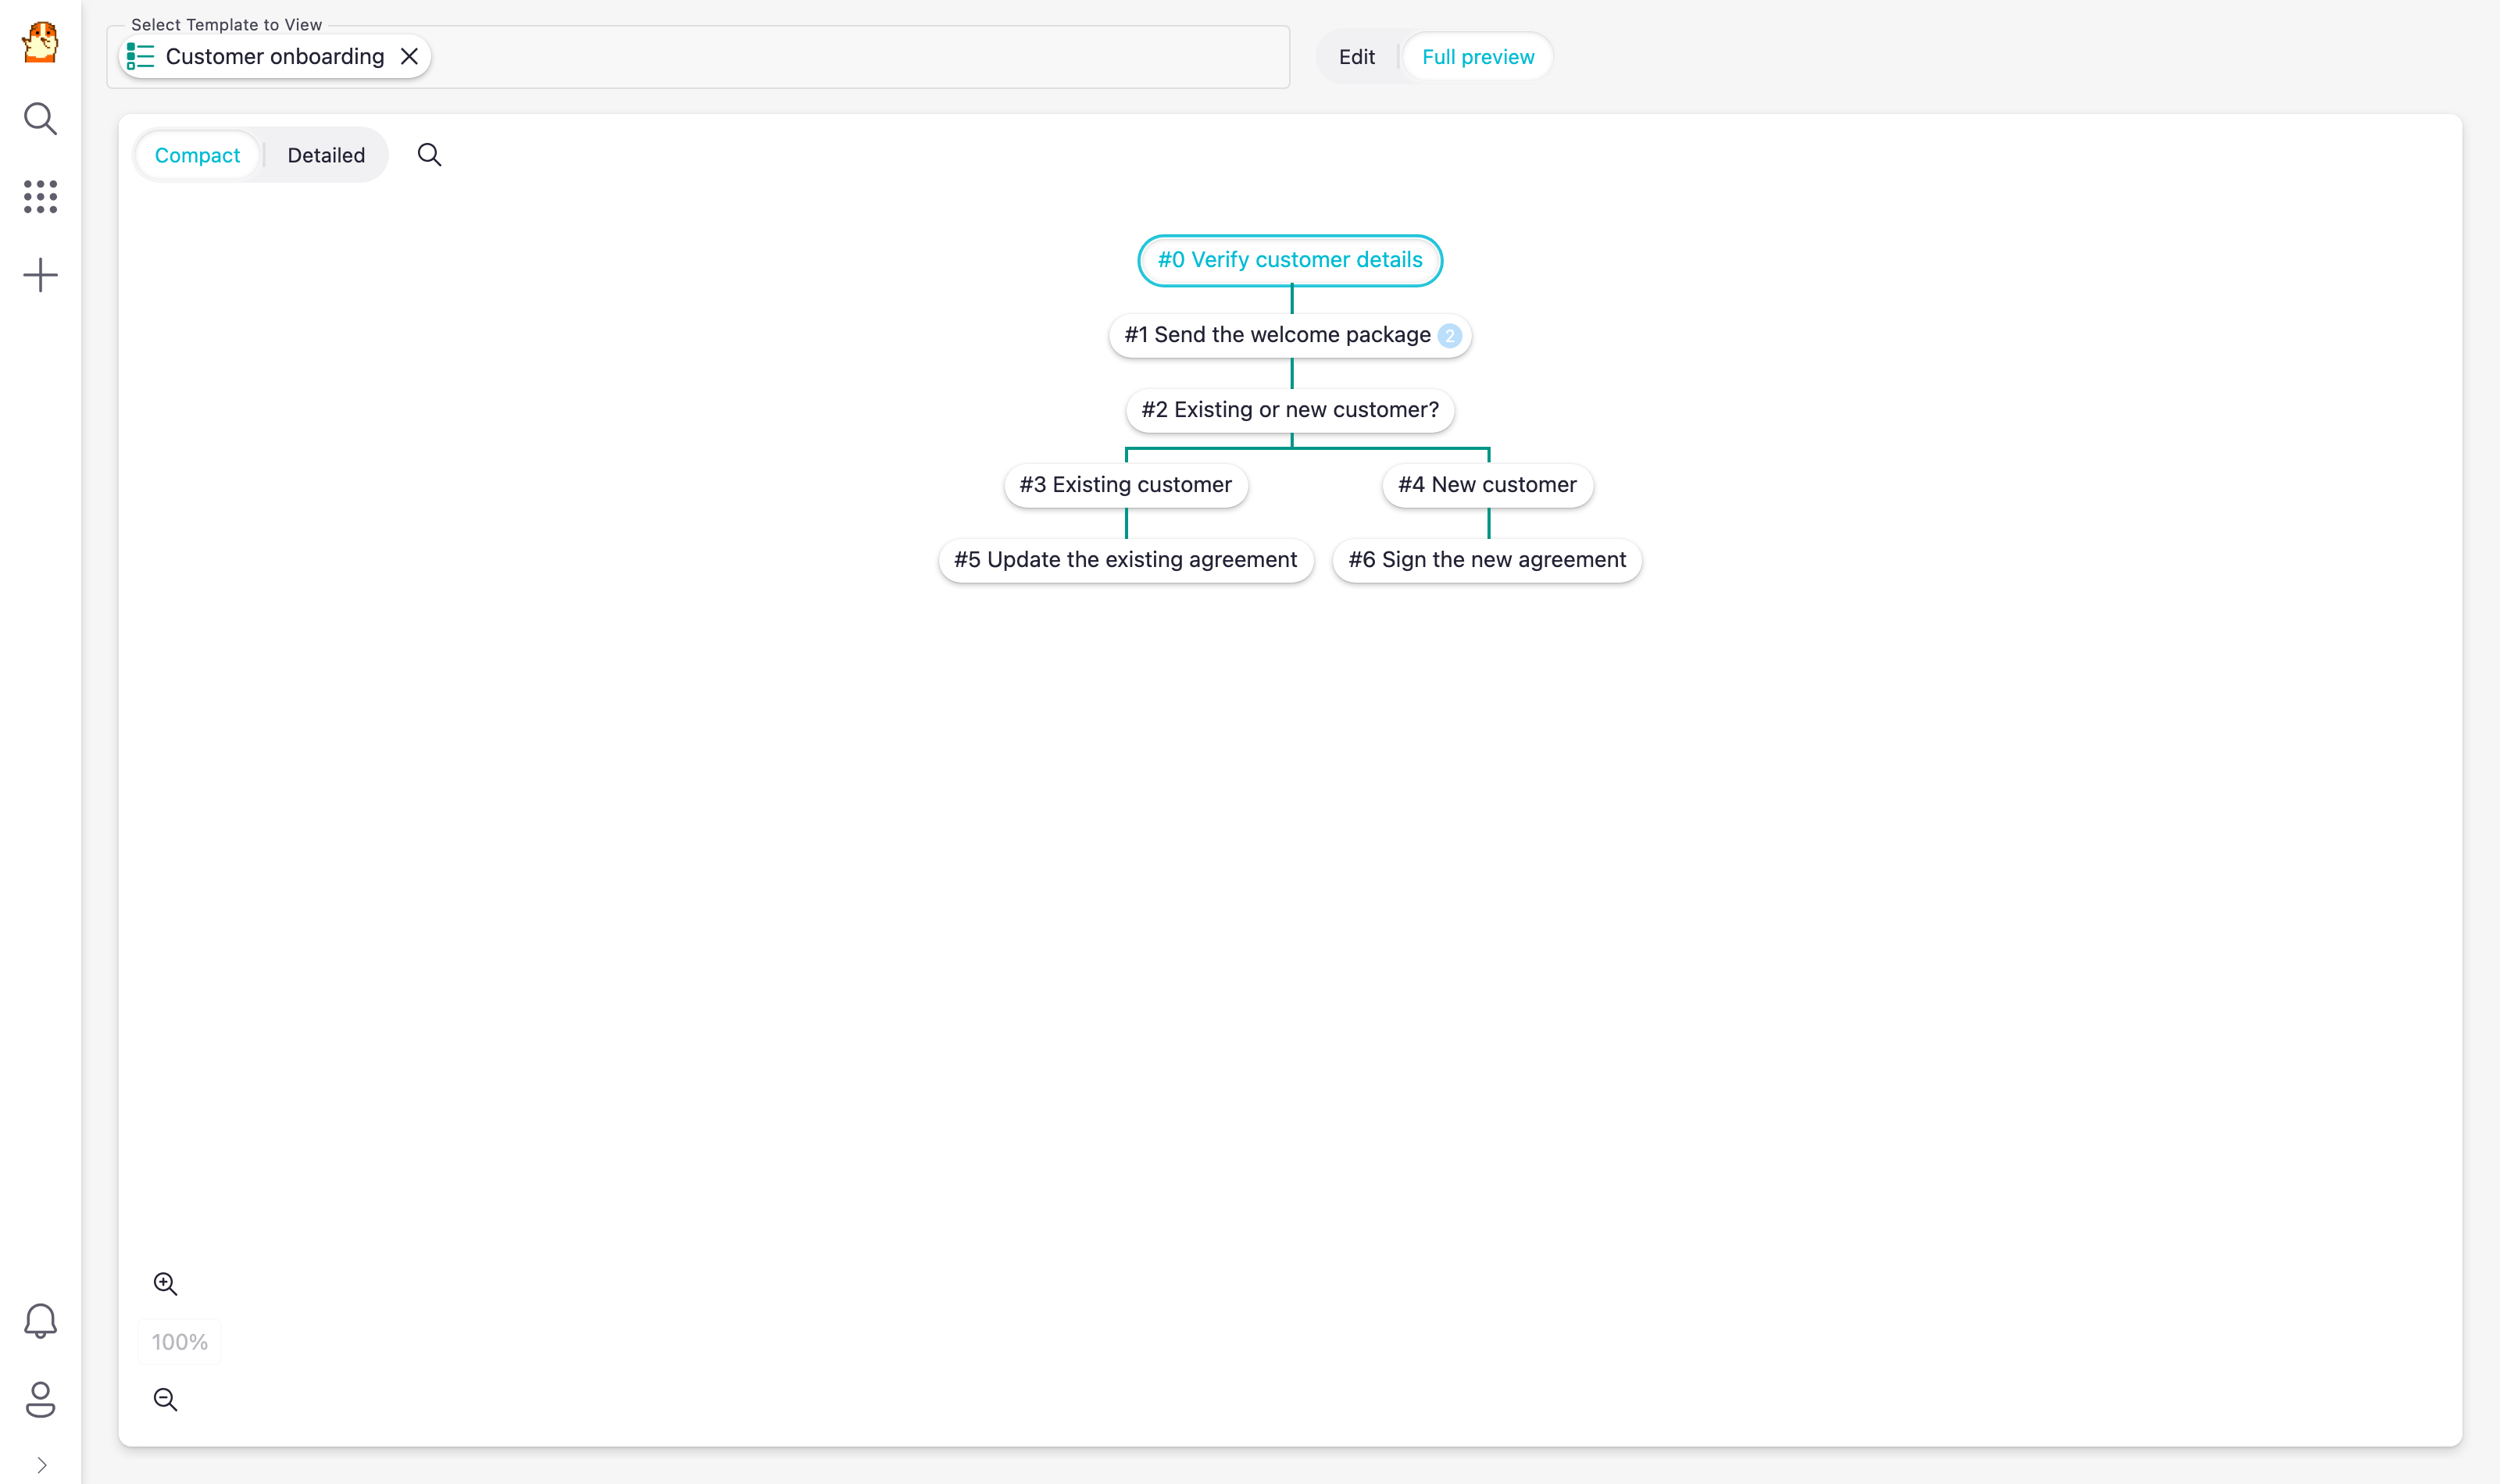
The builder can also be opened in read-only mode, where you can look at a checklist template but not change anything.
- Coworkers who are only allowed to view checklists (see Security) always open the builder in read-only mode.
- You can also open a checklist read-only directly from the checklist on a record, to quickly see how the process is set up.
In read-only mode the full preview is shown by default.
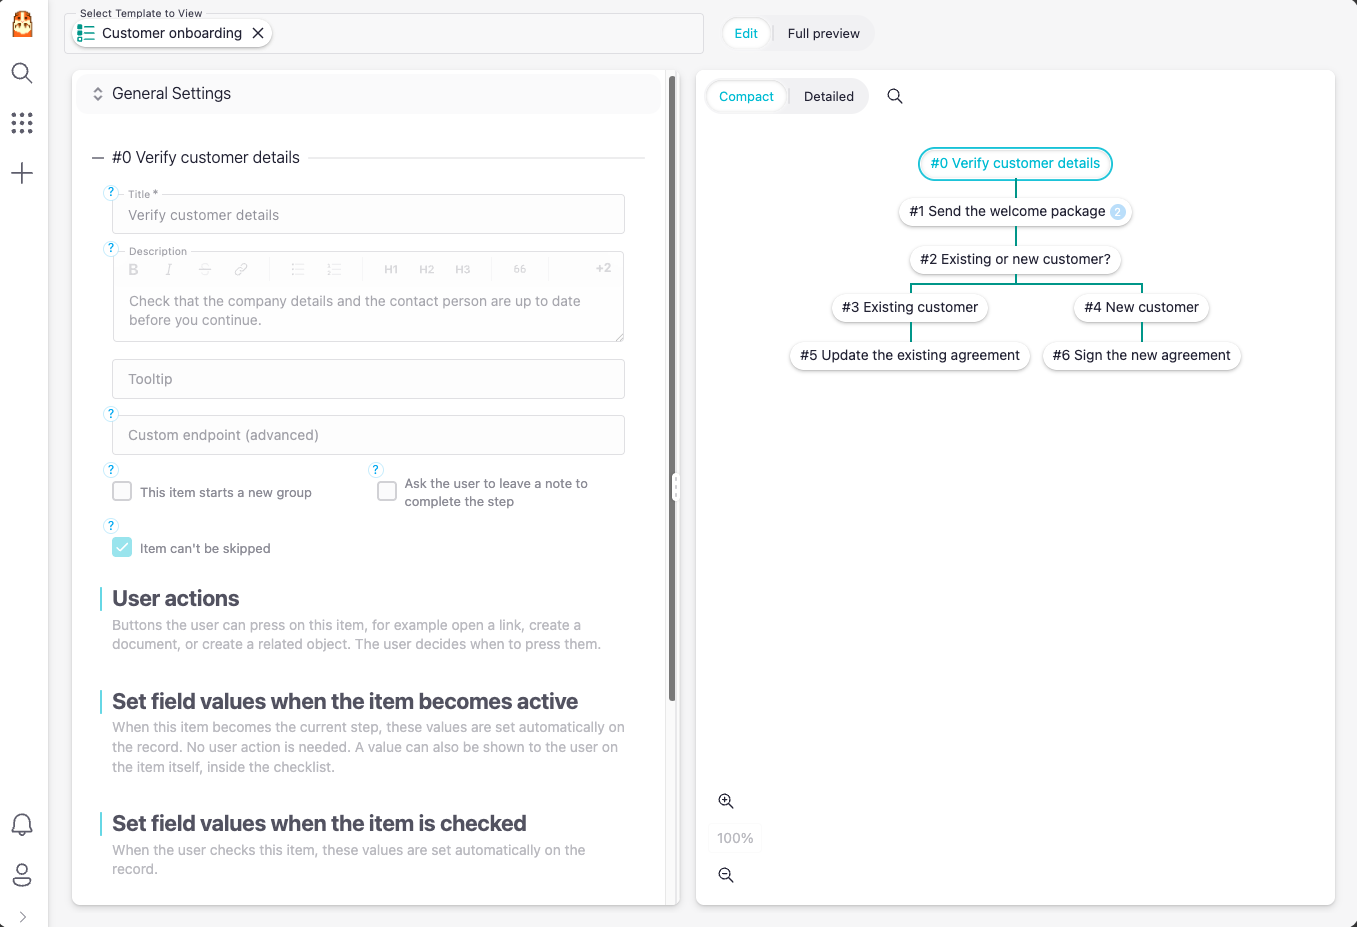
You can still switch to the Edit view to inspect an item's settings — all fields are shown, but they are disabled so nothing can be changed.
Item settings
Each item has its own settings, opened by clicking the item. Most settings have a small question mark icon next to them that explains what they do.
A few things worth knowing:
- Item text and description: The item text is what the user sees in the checklist. The description is extra text available behind the question mark icon, and supports rich text (bold, links, lists and so on).
- Groups: An item can start a new group. Items below it belong to that group until the next group, and groups can be collapsed.
- Force a note: You can require the user to write a note before the item can be completed.
- Prevent skipping: You can make an item impossible to skip, so the user must complete it.
- User actions: Buttons the user can press on the item, such as opening a link, creating a document or creating a related object. See User actions.
- Run actions automatically when checked: Actions that run on their own as soon as the item is checked, without the user pressing anything. See Run actions automatically when checked.
- Set field values: You can set values on the record automatically, either when the item becomes the current step or when it is checked. See Properties.
Properties
Depending on what type the selected property have, different ways of setting the value will appear. Below you can find a some examples on how it looks like
Date/Time properties
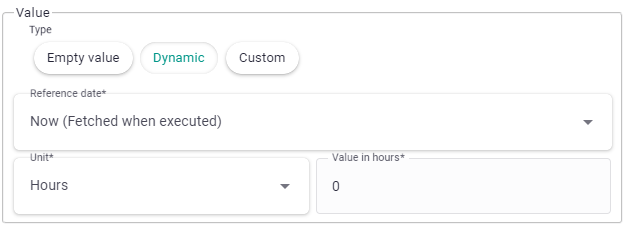
You have three different types of setting a date:
-
Empty value: Remove any existing value in the field.
-
Dynamic: Fetches a Reference date (A field on the card or "now") and add/subtract time from it. Making it possible to for instance say 1 hour from now.
-
Custom: This is a bit more advanced and makes it possible to write custom code in your solution to calculate the value to set. When the user selects this option it's possible to write a JSON object that will be passed to the function if you want specific "settings" to it. It will run a function called
limepkg_dynamic_checklist_set_time_valueon the custom limeobject for the owner limetype of the checklist.The function should return the value to set (NOT set the value inside the function) And will get the following arguments:
value: checklist_template.TimePropertyValue, # A dataclass containing the settings in the checklist
owner: LimeObject, # The checklist owner
prop_accessor: TimePropertyAccessor, # The property accessor of the field to set, to be able to fetch current value